When it comes to crocheting, starting out can be pretty overwhelming. There are so many hooks, stitches, yarns, and patterns to choose from, and as a beginner it’s hard to know where to start. This guide can help you to figure out what’s what in the world of crocheting.
Step 1: Gather Your Supplies
Believe it or not, you won’t need a lot in the way of materials to crochet. To get started, you’ll need the following:
- A crochet hook. The crochet hook, also called a crochet needle, is the most important tool you need to crochet. It features a rounded shaft, with a little hooked and pointed piece at the end, and is used to create loops in thread, which are then interlocked with crochet stitches. The end point makes it easier to stick the hook into the crochet material and use the hook to pull a loop through the material.
- Yarn or crochet thread. If you’re new to crocheting, choose a smooth as opposed to textured yarn or crochet thread. Smooth yarns are easiest to work with. Light yarn also makes it easier to see your stiches. Yarn comes in different weights, but for your first time, try a worsted or bulky weight yarn. You can find the weight of the yarn on the label—choose a yarn that’s higher than four according to the Craft Yarn Council’s weight ranking. Remember that your yarn needs to match the size of the hook.
- Scissors. Simple! Any old pair of craft, kitchen, or sewing scissors will do here.
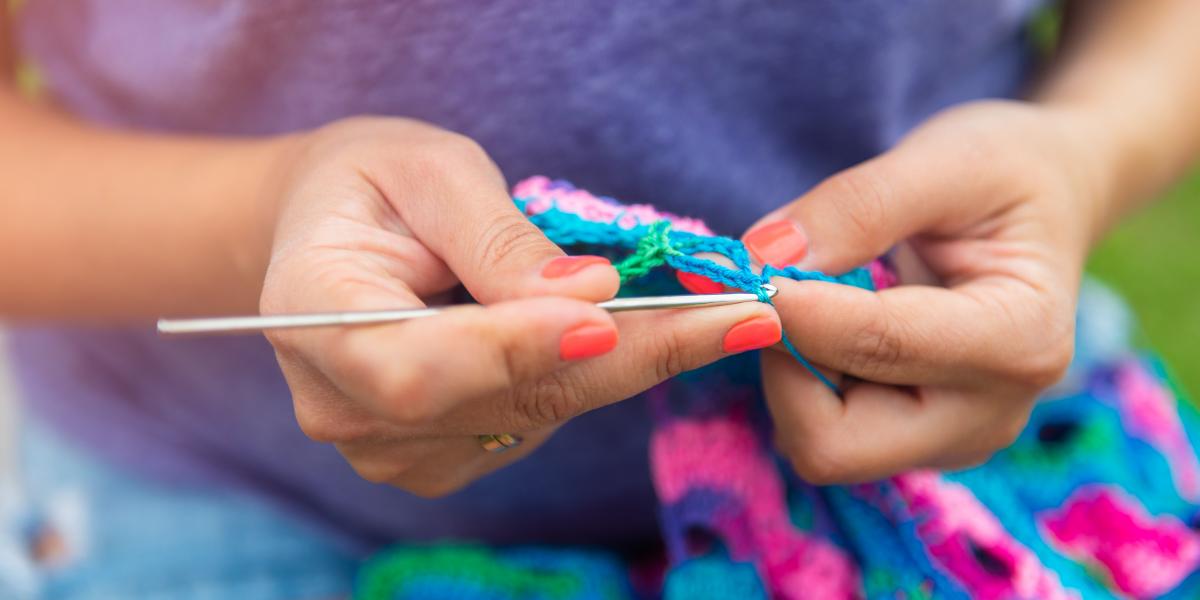
Step 2: Hold the Crochet Hook
One of the most difficult aspects of just starting out with crocheting is that holding everything can feel incredibly unnatural. Your hand might even cramp up from the strain. But one good thing to keep in mind is that there’s no right way to hold the crochet hook. The following are two of the most common styles. (You might want to try each one in order to see which one feels best.)
- Over the hook position. In this position, you hold the hook so that its handle is pressed against the palm of your hand. It’s a lot like holding a pencil—your thumb and index finger should be clasped around the hand rest on the handle of the crochet hook.
- Under the hook position. In this position, you hold the crochet hook as you would hold a spatula. Your thumb should be on top, with your index finger on the thumb rest.
Step 3: Do a Test
Remember to start off with simple patterns before you progress to anything more difficult. You can “practice” patterns by doing a test swatch first. A test swatch involves practicing a stitch without trying to make something. Instead, think of it as simply getting used to the movement. You’ll notice that when you do a test swatch, you’ll be able to adjust the tightness according to how you want the stitch to be.
Step 4: Crochet a Chain
All crocheting projects start with a chain stitch. In pamphlets and instruction manuals, the chain stitch is abbreviated as “ch.” Before you get started on a specific project, dedicate some time to practicing this stitch. Ideally, commit 10-20 minutes per day. After a few days, you should be able to hold the yarn so that it is the perfect tautness.
Create a slip knot around the end of the crochet hook, and wind the yarn around the hook. You can make a slip knot by looping the yarn so that the end of the yarn hangs next to the loop. Use the hook to guide the yarn under the tail of the yarn and then back out of the loop. Pulling the tail will cause the knot to tighten around the hook. You’ve got a slip knot.
Using your thumb and middle finger of your non-dominant hand, pinch the end of the slipknot you’ve just created. Then use your index finger to move the yarn around the handle of the hook, from back to front. Pull the yarn through the loop formed on the hook and you have one chain link. You will need to repeat the process to make a chain stitch.
Step 5: Learn How to Make a Slip Stitch (sl st.)
This type of stitch is used to join different crocheted pieces together, bind up ends, reinforce edges, or move the loose end of your yarn to a different position to work with. Start with a six-link chain stitch. Then slide the hook through the very first link of the chain. The chain will form a ring.
Use your non-dominant hand to wind the yarn around the hook from back to front, as you did when you were making the chain. Then rotate the hook so that the tip is facing you.
Now, pull both the loose end of the yarn and the hook back through the stitch. Pull them through the loop on the hook and you’ve finished one slip stitch.
Step 6: Making a Single Crochet
The tightness of the single crochet stitch makes it ideal for stitching material that is close together.
Pull a new loop through the chain stitch you made. You should have a total of two loops on the hook right now. Then draw a new loop of yarn through both of these loops. You’ll be left with a single loop. Do this one more time.
Step 7: The Double Crochet
The double stitch is ideal for bulkier stitches and yarns. There is more space between a double crochet than a single crochet.
Start by making a chain with a total of fifteen links. Then wind the yarn over the hook from front to back. Finally, push the hook between the first two loops and pull it under the fourth link of the chain.
Guide the hook through the chain in order to pull the wrapped yarn through the chain stitch. At this point, you should have a total of three loops on the crochet hook. Pull the hook through the first two loops, wrap the yarn around the last two loops, and then your double crochet is complete. Repeat this to make the next double stitch.